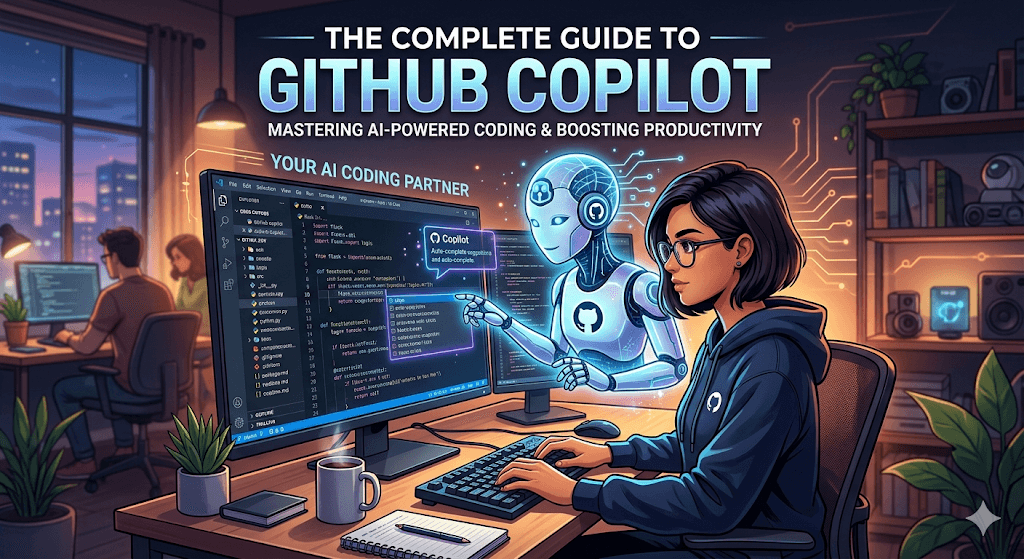
The Complete Guide to GitHub Copilot
From inline code completions to fully autonomous coding agents — everything you need to know about AI-powered development with GitHub Copilot, with step-by-step setup instructions.
What Is GitHub Copilot?
GitHub Copilot is an AI-powered coding assistant that integrates directly into your development environment. It was originally launched by GitHub (owned by Microsoft) as a code-completion tool, but has evolved into a comprehensive AI development platform that can write code, review pull requests, answer questions about your codebase, and even autonomously resolve issues and open PRs.
Copilot is powered by large language models from multiple providers, including OpenAI, Anthropic (Claude), and Google. Depending on your plan, you can choose which model powers your interactions — from GPT-4.1 and Claude Sonnet 4.6 on free and Pro plans, to Claude Opus 4.6 and OpenAI o3 on Pro+.
Key Takeaway
GitHub Copilot is no longer just an autocomplete tool. In 2026, it’s a full AI coding platform with inline suggestions, chat, agent mode for multi-step tasks, autonomous cloud agents that resolve issues in the background, agentic code review, a CLI, and even a natural-language app builder called Spark.
Core Features
Copilot’s feature set has expanded significantly. Here’s what the platform offers today:
Code Completions
Autocomplete-style inline suggestions as you type — from single lines to entire functions. Available in VS Code, JetBrains, Visual Studio, Xcode, Vim/Neovim, and Eclipse.
Copilot Chat
Ask coding questions, get explanations, generate tests, and refactor code through a conversational interface in your IDE, on GitHub.com, or in GitHub Mobile.
Agent Mode
An autonomous multi-step agent that determines which files to edit, runs terminal commands, and iterates on errors — now GA on both VS Code and JetBrains.
Cloud Agent
Assign a GitHub issue to Copilot, and it works asynchronously in the background — analyzing the repo, writing code, running tests, and opening a PR for your review.
Additional features include Copilot Edits for making changes across multiple files from a single prompt, agentic code review that gathers full project context before suggesting changes, Next Edit Suggestions that predict where your next edit will be, Copilot CLI for terminal-based AI assistance, semantic code search that finds conceptually related code, and GitHub Spark — a natural language app builder available on Pro+ and Enterprise plans.
Pricing Plans
GitHub offers five tiers for Copilot. Code completions (the inline autocomplete) are unlimited on all paid plans — the key differentiator is “premium requests,” which power Chat, Agent mode, code review, and model selection.
Free
50 premium requests
VS Code & JetBrains
Pro
300 premium requests
All supported IDEs
Pro+
1,500 premium requests
All models incl. o3
Business
Policy controls
IP indemnity
Free for Students & Educators
Verified students get the full Copilot Student plan (equivalent to Pro features) at no cost through the GitHub Student Developer Pack. Verified educators and popular open-source maintainers also receive free access.
Step-by-Step: Setting Up GitHub Copilot in VS Code
Sign Up for a Copilot Plan
Go to github.com/features/copilot and choose your plan. The Free tier requires no credit card — just a GitHub account. Click “Get started with Free” or subscribe to Pro/Pro+ for more features. Your plan will be linked to your GitHub account.
Install the GitHub Copilot Extension
Open VS Code and navigate to the Extensions panel (Ctrl+Shift+X or Cmd+Shift+X on Mac). Search for “GitHub Copilot” and install the official extension published by GitHub. This single extension now includes both completions and chat.
Authenticate with GitHub
After installing, VS Code will prompt you to sign in to GitHub. Click “Sign in to GitHub” in the notification that appears, or use the Copilot icon in the status bar. Complete the OAuth flow in your browser and authorize the extension.
Start Coding with Inline Suggestions
Open any code file and start typing. Copilot will display ghost text suggestions in gray. Press Tab to accept a suggestion, Esc to dismiss, or Alt+] / Alt+[ to cycle through alternatives. Write a comment describing what you want, and Copilot will suggest the implementation.
# Function to calculate compound interest
# with principal, rate, time, and compounding frequency
def compound_interest(principal, rate, time, n=12):
    # Copilot suggests this implementation ↓
    amount = principal * (1 + rate / n) ** (n * time)
return round(amount - principal, 2)Use Copilot Chat
Open the Copilot Chat panel with Ctrl+Shift+I (or Cmd+Shift+I on Mac). You can ask questions about your code, request refactoring, generate tests, or get explanations. Use @workspace to give Copilot context about your entire project.
You: @workspace Explain how authentication
works in this project and suggest improvements.

Copilot: Based on your codebase, authentication
is handled in src/auth/middleware.ts using
JWT tokens. Here are some improvements...
Step-by-Step: Using Agent Mode
Agent mode is Copilot’s autonomous multi-step feature. Instead of one-off suggestions, it plans and executes a sequence of edits across your project.
Open Copilot Edits
In VS Code, open the Copilot Chat panel and switch to Agent mode by selecting it from the mode dropdown (you’ll see options like “Ask”, “Edit”, and “Agent”). In JetBrains IDEs, Agent mode is also available in the Copilot tool window.
Describe Your Task
Type a natural language description of what you want to accomplish. Be specific about the outcome. For example:
"Add input validation to all API endpoints
in the /routes directory. Each endpoint should
validate request body fields, return 400 with
descriptive error messages for invalid input,
and log validation failures."Review and Iterate
Agent mode will analyze your project, identify relevant files, and propose edits across multiple files. It may also run terminal commands to install packages or run tests. Review each proposed change — you can accept, reject, or ask the agent to revise specific parts before applying them.
Agent Mode vs. Cloud Agent
Agent mode works interactively inside your IDE while you watch. The Cloud Agent (formerly called “coding agent”) works asynchronously — you assign a GitHub issue to Copilot, and it works in the background on a branch, eventually opening a PR. Think of Agent mode as pair programming and Cloud Agent as delegating a task.
Step-by-Step: Using the Cloud Agent
Assign an Issue to Copilot
Navigate to any GitHub issue in your repository. In the “Assignees” section, assign the issue to Copilot — it appears as an available assignee on repos with Copilot enabled. Alternatively, you can tag @copilot in a comment on the issue.
Copilot Works Autonomously
Copilot reads the issue description, analyzes your repository’s code and context, creates an implementation plan, writes the code on a new branch, and runs your project’s test suite. It also runs security checks using CodeQL, secret scanning, and Copilot code review automatically.
Review the Pull Request
When Copilot finishes, it opens a pull request with its changes. Review the diff, leave comments, or ask Copilot to make revisions by commenting on the PR. Once you’re satisfied, merge as you would any other PR. You can also monitor progress on GitHub Mobile.
Step-by-Step: Setting Up Copilot CLI
Install the GitHub CLI
Copilot CLI requires the GitHub CLI. Install it via your package manager:
# macOS
brew install gh

# Windows
winget install GitHub.cli

# Ubuntu/Debian
sudo apt install ghAuthenticate and Enable Copilot
Log in to GitHub through the CLI and install the Copilot extension:
gh auth login
gh extension install github/gh-copilotUse Copilot in Your Terminal
Now you can ask Copilot to explain commands, suggest solutions, or help with Git operations directly from your terminal:
# Ask Copilot to explain a command
gh copilot explain "awk '{print $2}' file.txt"

# Ask Copilot to suggest a command
gh copilot suggest "find all .log files
  modified in the last 7 days and compress them"
New: Bring Your Own Model
As of April 2026, Copilot CLI supports connecting your own model provider or running fully local models. You can configure Azure OpenAI, Anthropic, Ollama, or any OpenAI-compatible endpoint. Set COPILOT_OFFLINE=true to run completely air-gapped with no GitHub server communication.
Tips for Getting the Most Out of Copilot
Write descriptive comments first. Copilot generates better code when you write a clear comment or docstring before the function. Describe the inputs, outputs, and edge cases you care about — Copilot will use that context to produce more accurate suggestions.
Use the @workspace keyword in Chat. This tells Copilot to index and consider your entire project when answering questions, rather than just the currently open file. It’s especially useful for questions about architecture, finding where something is defined, or making project-wide changes.
Break complex tasks into smaller prompts. Agent mode works best when you give it a focused, well-scoped task. Instead of “rebuild the entire auth system,” try “add password strength validation to the signup form” as one step, then follow up with the next piece.
Provide examples in your prompt. If you want code in a specific style or pattern, show Copilot an example. It will follow the pattern for subsequent suggestions, which is especially useful for maintaining consistency across a codebase.
Use custom instructions. You can create a .github/copilot-instructions.md file in your repository to tell Copilot about your project’s conventions, preferred libraries, coding standards, and patterns. Copilot will reference these instructions automatically when generating suggestions.
Supported IDEs
Copilot’s feature availability varies by editor. All paid plans support these IDEs, though not every feature is available everywhere:
VS Code
Full feature support: completions, chat, agent mode, edits, next edit suggestions, and code review.
JetBrains IDEs
Completions, chat, agent mode (GA since March 2026), and edits. Covers IntelliJ, PyCharm, WebStorm, etc.
Visual Studio
Completions, chat, and edits. Colorized completions and partial acceptance added in early 2026.
Xcode, Vim/Neovim, Eclipse
Completions in all three. Chat support available in Eclipse and Xcode. Next edit suggestions in Xcode and Eclipse.
Final Thoughts
GitHub Copilot has evolved from a clever autocomplete tool into a genuinely transformative development platform. The combination of inline suggestions for everyday coding, Chat for understanding and refactoring, Agent mode for complex multi-file changes, and Cloud Agent for autonomous issue resolution creates a layered system that can assist at every stage of the development workflow.
The free tier is a solid starting point. If you find yourself relying on Chat and Agent mode regularly, the $10/month Pro plan removes the bottleneck with unlimited completions and 300 premium requests. Power users who depend on top-tier models and heavy agent usage should evaluate Pro+ at $39/month — the 1,500 premium request allowance prevents the overage costs that can sneak up on heavy users.
Whether you’re writing your first function or managing a team shipping code at scale, Copilot is worth integrating into your workflow — start with Free, and upgrade when the limits tell you to.


Comments are closed.